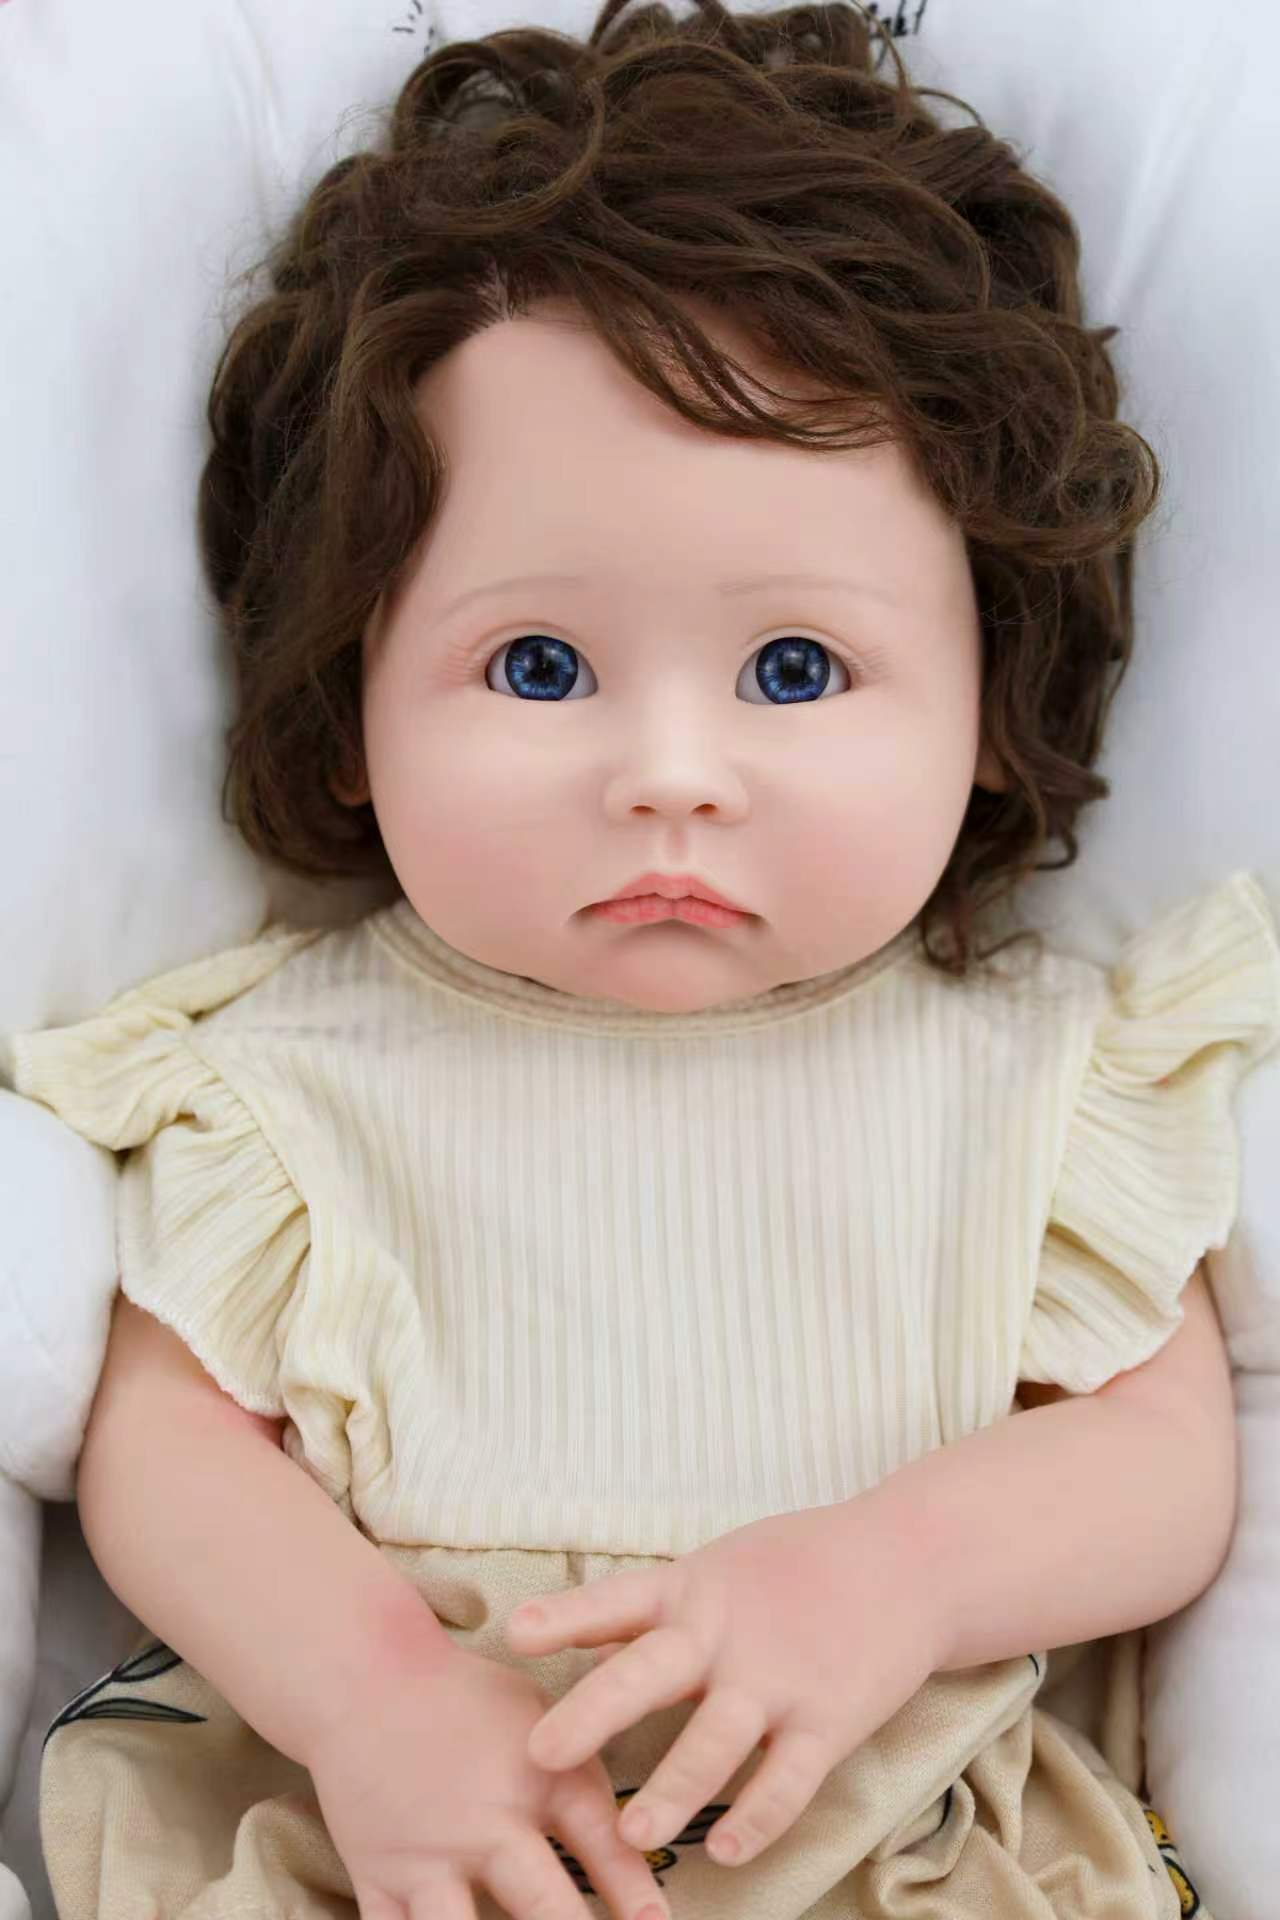
If you’ve ever spent hours with a tiny needle, a vinyl doll head, and a pile of mohair—only to end up with crooked swirls, bald spots, or a harsh hairline—you know the hardest part of rooting isn’t just “inserting hair.”
The real challenge is creating a soft, realistic hairline and maintaining consistent hair direction across the scalp—without tearing the vinyl, over-rooting, or straining your hands.
At Sueban Group, this is exactly what we focus on when teaching and producing realistic reborn dolls. Years of factory experience show where beginners—and even some pros—struggle the most.
Understanding the Rooting Process for Reborn Dolls
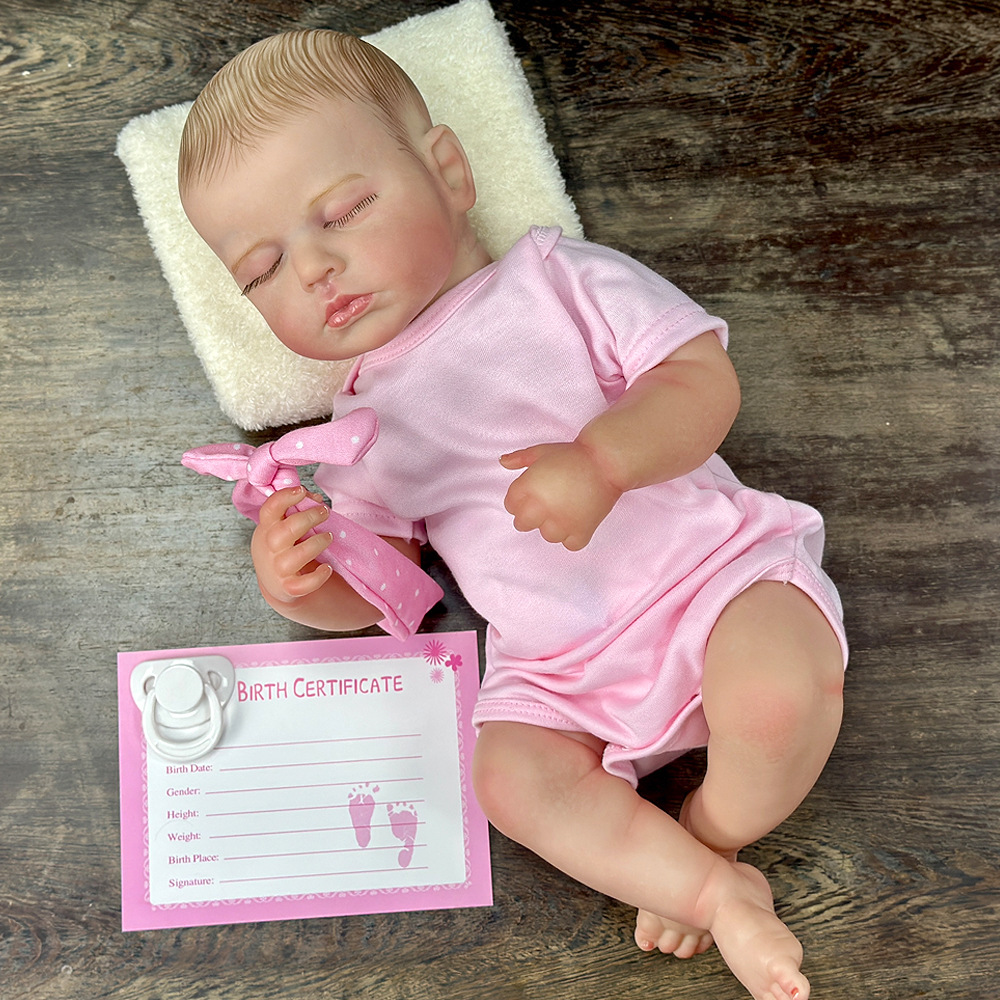
Rooting means implanting individual strands into the doll’s vinyl scalp, mimicking real hair growth. To achieve that soft, newborn look, you need:
- Rooting needles for reborn dolls (different sizes for hairlines and fill)
- High-quality mohair or premium doll hair
- Clean, prepped vinyl doll heads
- Comfortable ergonomic grips for your needle
Every hair direction, every section, every tiny plug matters. Rush it, and you risk:
- Bald patches
- “Wig-like” plugs
- Crooked or unnatural hairlines
Even experienced artists respect—and sometimes dread—this stage. It can make or break a lifelike reborn doll.
Identifying the Most Difficult Parts
From factory production to teaching beginners, these are the hardest challenges:
- Strand placement and hairline consistency
- Bald patches, grid-like plugs, or uneven hairlines make dolls look artificial.
- Hand fatigue and strain
- Tiny, repetitive motions quickly tire fingers, wrists, and shoulders.
- Choosing the right hair
- Mohair is soft, flexible, and realistic. Synthetics are thicker and harder to control.
- For guidance on picking real hair and avoiding low-quality materials, see How to Avoid Fake Reborn Dolls Online Buying Guide.
- Density management
- Over-rooting gives a wig-like look; under-rooting exposes scalp.
Common beginner mistakes include wrong needle choice, pushing too many strands at once, or ignoring natural hair flow. Feedback from customers often repeats: “My hairline looks fake” or “My hands hurt halfway through.”
Why These Challenges Happen
Rooting looks simple, but mistakes usually come from:
- Lack of structured training
- Beginners follow tutorials without method → uneven patterns, fake-looking hairlines, vinyl tears.
- Low-quality tools or hair
- Dull needles or poor-quality hair → uneven plugs, tangles, and scalp damage.
- Limited scalp knowledge
- Realistic techniques depend on understanding swirl, crown, temple, and nape directions, plus density changes from front to back.
Expert Tips for Realistic Hairlines & Density
Here’s the step-by-step Sueban Group uses to achieve consistent results:
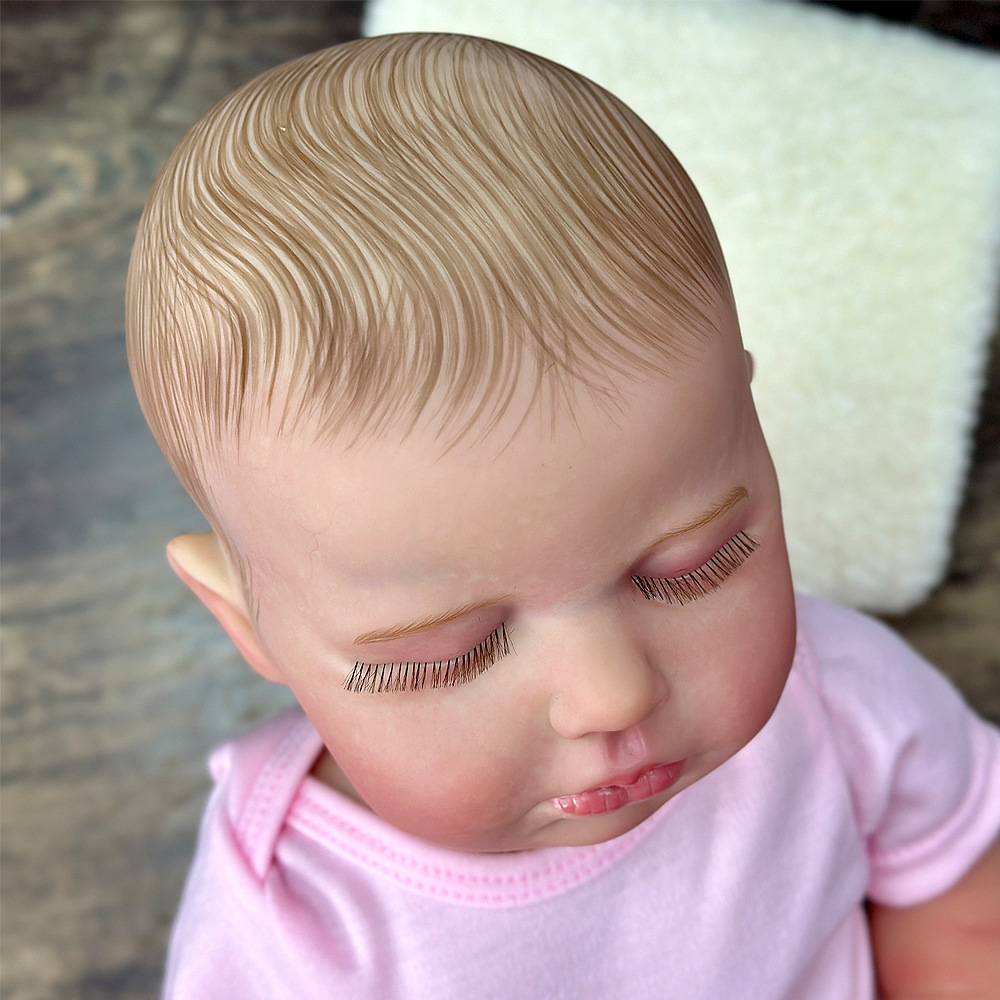
- Map the hairline first
- Lightly mark a soft, irregular line. Real babies aren’t symmetrical.
- Root the hairline in single strands
- Fewer hairs per poke for a wispy, natural look.
- Follow natural hair direction
- Front hairs forward, gradually shift toward crown for realistic flow.
- For detailed step-by-step rooting techniques.
- Stagger rows
- Prevent visible lines and create even density.
- Check density often
- Flip the head under light to spot thin areas before sealing.
Tool Setup for Easier Rooting
- Multiple needle sizes: fine for hairline, slightly larger for fill
- Ergonomic grip: reduces strain and improves control
- High-quality mohair: consistent, clean, tangle-free
- Bright, magnified lighting
- Forearm support: reduce wrist fatigue
For more on sourcing dolls and materials for practice, see How to Price Reborn Dolls for Wholesale and Retail.
Practice & Prevention Strategies
- Start on spare vinyl heads or hidden sections before your main doll.
- Do “density drills”: root a 1-inch square, assess coverage, then expand.
- Keep a notebook: record needle sizes, hair type, and what worked.
Common Mistakes to Avoid
- Over- or under-rooting
- Map hairline, work in small sections. 1–2 hairs per poke for newborn realism.
- Wrong needle size
- Use ultra-fine needles (42–46 gauge, 1–3 barbs). Replace bent or dull needles.
- Ignoring hair direction
- Follow crown swirl, front hair growth, and nape flow. Mistakes make hair stick out or parts look crooked.
- Rushing
- Short, focused sessions (30–60 mins) and regular symmetry checks.
- Not learning from mistakes
- Review older dolls, take notes, treat each head as practice, not perfection.
Tools & Resources for Easier Rooting
- Premium rooting needles
- Magnifying lamp or headband magnifier
- Ergonomic handles
- Stable stand or clamp for the doll head
- High-quality mohair for realistic texture
With the right tools, setup, and technique, even complex hairlines and density patterns become manageable. Sueban Group’s PureGrace 18-inch vinyl dolls and 11-inch silicone dolls provide the perfect practice base for beginners and pros alike.
Table of Contents

Owen is the second-generation founder of Sueban Group, a reborn doll manufacturer based in Guangdong, China. With over 20 years of family manufacturing heritage, Owen leads the company's B2B operations serving wholesalers, brands, and institutional buyers across 20+ countries.
Meet Owen →